

Quick Answer
RV toilet replacement is a straightforward DIY project that most RV owners can complete in 1–3 hours with basic hand tools. Empty your black water tank, shut off the water supply, unbolt the old toilet, swap the flange seal, and install the new unit. Total cost ranges from $150 for a basic gravity-flush model to $800 or more for a premium macerator toilet.
Meta description: RV toilet replacement costs $150–$800 and takes 1–3 hours. This step-by-step guide covers tools, costs, flange inspection, and how to install a Thetford or Dometic toilet yourself.
Key Takeaways
- Most RV toilets last 10–20 years, but failing seals, cracks, and persistent odors are signs it's time to replace — not just repair.
- A gravity-flush RV toilet costs $150–$400; macerator models run $500–$800+. Professional labor adds $75–$150/hr if you hire out.
- Empty your black water tank to below one-third capacity before starting — skipping this step is the mistake that turns a clean job into a nightmare.
- Thetford and Dometic are the two dominant brands; most models share a standard 3-inch floor drain diameter and similar bolt patterns.
- If your RV sits permanently on a lot connected to a home septic system, what happens at this toilet matters to the drain field too.
How Do You Know When Your RV Toilet Needs to Be Replaced (Not Just Repaired)?
Your RV toilet is telling you it's done in one of a few clear ways. A cracked porcelain or plastic bowl, a base that rocks even after re-torquing the bolts, or a flush pedal that no longer creates a proper seal — those are replacement signals, not repair signals. Persistent sewer odors after you've already replaced the RV toilet seal are another red flag. If you've swapped the seal twice in two years and still smell it, the bowl itself is likely warped or pitted.
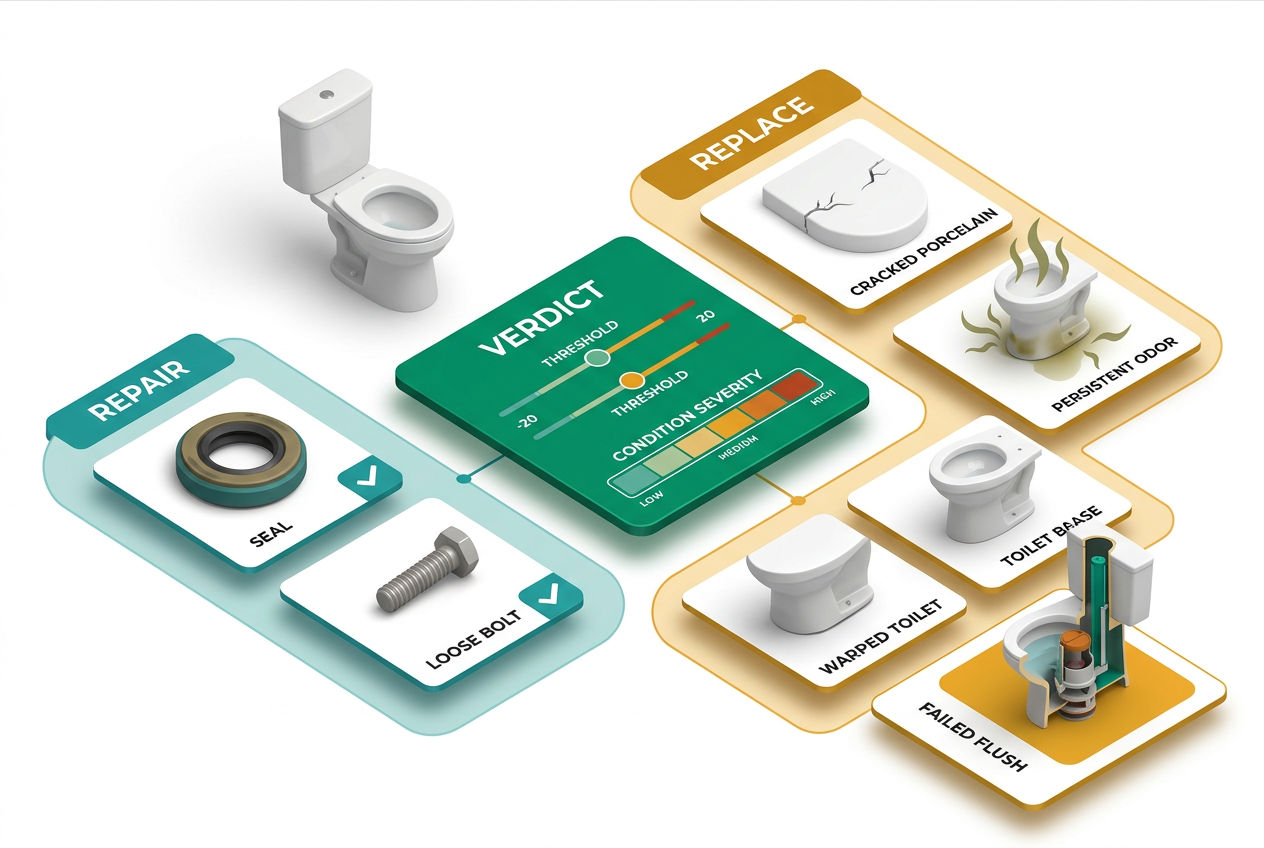
The average RV toilet lasts 10–20 years. If yours is original equipment on a 15-year-old rig and you're chasing a leak, replacement often costs less long-term than repeated seal and valve work. A new RV toilet seal replacement runs $15–$40 in parts, but if you're on your third one, the math changes fast.
Minor issues — a slow-draining pedal flush, an RV toilet water valve that drips slightly, or a loose seat — are usually worth repairing. For everything else, keep reading.
What Tools Do You Need to Replace an RV Toilet?
You don't need a mechanic's toolbox. Here's what to gather before you start:

- Adjustable wrench or socket set (typically ½" or 9/16" for toilet bolts)
- Flathead and Phillips screwdrivers
- Utility knife (to cut old sealant if present)
- Bucket and old towels (for residual water in the base)
- Rubber gloves — non-negotiable
- Plumber's putty or foam tape (for the new base seal, depending on your model)
- Penetrating oil like PB Blaster (for corroded bolts on older units)
- A helper — not strictly required, but lifting a toilet in a tight RV bathroom is awkward solo
That's eight items. Most of them are probably already in your rig's storage bay.
How Much Does RV Toilet Replacement Cost in 2025?
A budget gravity-flush toilet like the Thetford Aqua-Magic V runs $150–$200. Mid-range options such as the Dometic 310 Series land at $250–$350. Step up to a premium ceramic bowl model — the Thetford Aria or Dometic 510 — and you're at $400–$600. Macerator toilets, which grind waste and pump it through smaller lines, start around $500 and can exceed $800 for full-featured units.
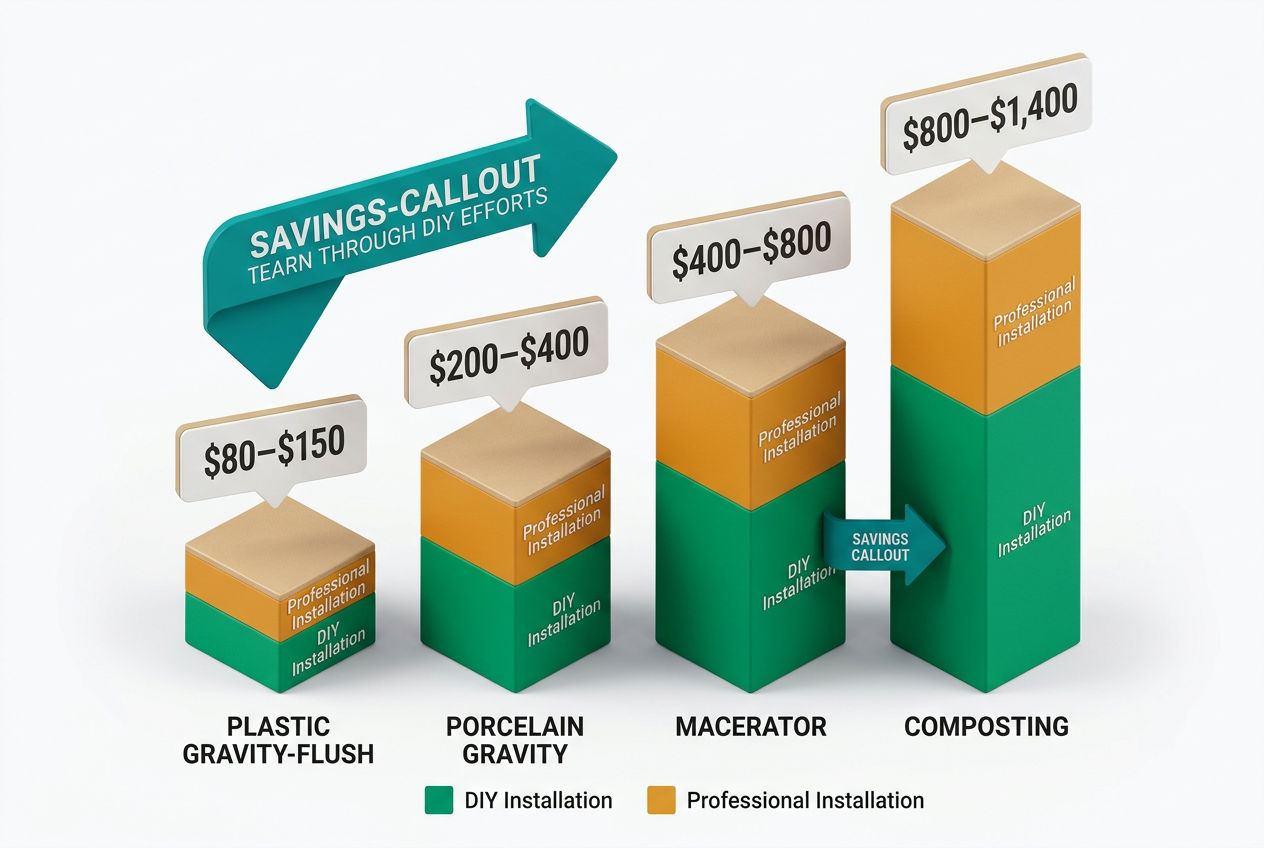
If you hire a pro, expect to pay $75–$150/hr in labor on top of the toilet cost. A straightforward swap typically takes under two hours for an experienced technician — call it $150–$300 in labor. Total professional cost: $300–$1,100 depending on your model choice and local rates. DIY saves you most of that labor cost.
For a 4-person family that camps 30+ nights a year, the toilet works hard — investing in a $350 ceramic model rather than a $175 plastic one usually pays off in longevity and comfort.
| Toilet Type | Example Model | Typical Price | Flush Type |
|---|---|---|---|
| Basic plastic | Thetford Aqua-Magic V | $150–$200 | Gravity |
| Mid-range plastic | Dometic 310 Series | $250–$350 | Gravity |
| Ceramic bowl | Thetford Aria Deluxe | $400–$500 | Gravity |
| Premium ceramic | Dometic 510 Series | $450–$600 | Gravity |
| Macerator | Thetford Tecma | $600–$800+ | Macerator pump |
Sources: Manufacturer list prices; Amazon and RV dealer retail pricing as of 2025.
For a deeper look at Thetford vs. Dometic specs side by side, the Dometic vs. Thetford RV toilet comparison covers the differences in bowl height, water consumption, and warranty terms.
Do You Need to Empty the Black Water Tank Before Replacing an RV Toilet?
Yes — and this is the step people skip at their peril. You don't need the tank bone-dry, but it should be below one-third capacity before you start. When you lift the old toilet off the floor flange, the drain opening is directly exposed to whatever is in that tank. A full or even half-full black water tank means fumes — and potentially splashback — the moment you break that seal.
Drain at a dump station or campground hookup first. For a proper flush and treatment after, check out our guide on how to empty your RV black tank and follow up with a quality RV black tank treatment to reset the bacterial balance before your first post-install flush.
If your rig is parked semi-permanently and connected to a residential septic system, the tank empties differently — the waste goes directly into that system. Make sure you understand how RV septic compares to a house septic before you start any plumbing work on a permanent hookup.
Step-by-Step: How to Remove and Install an RV Toilet
Work through these steps in order. Don't rush the removal — that's where most mistakes happen.
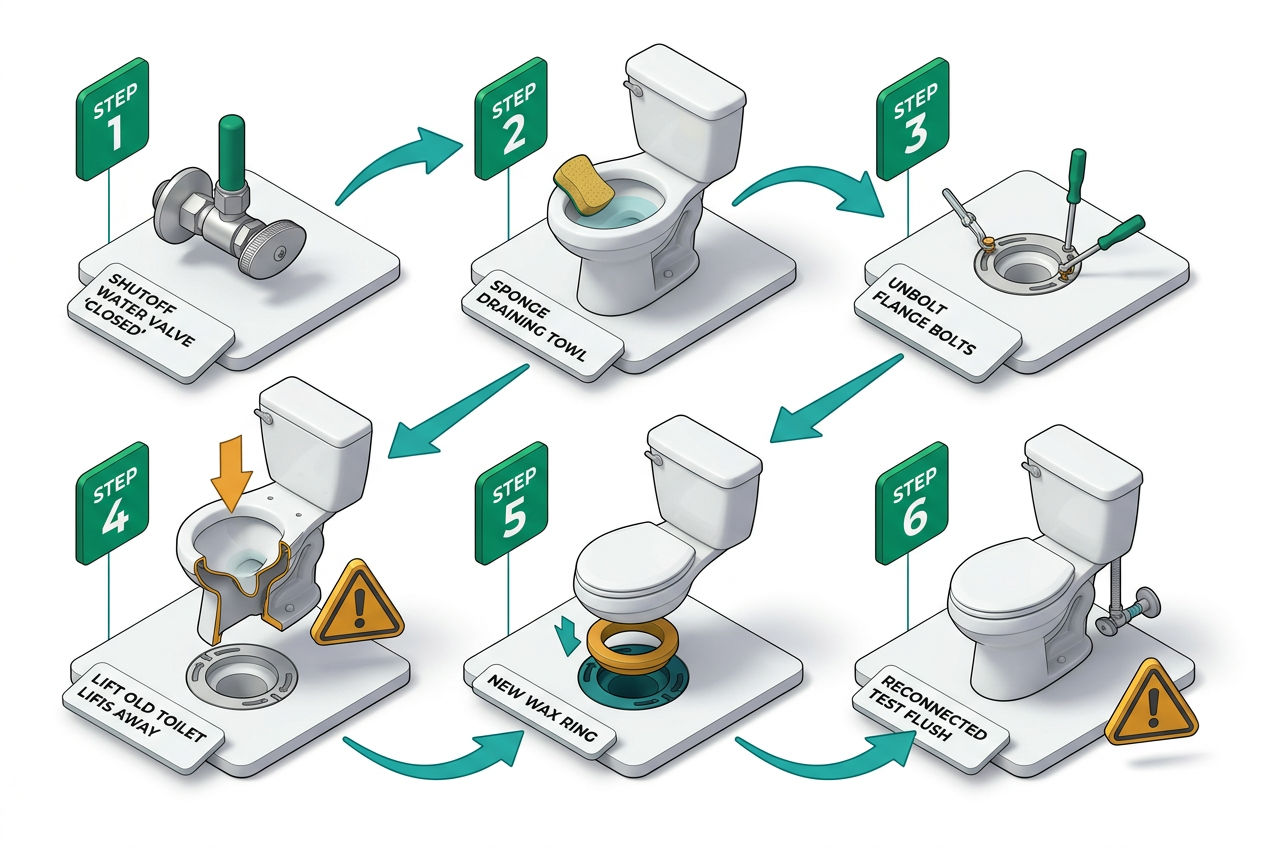
Step 1: Shut Off the Water Supply
Find the water shutoff valve that feeds your toilet. On most rigs it's a ¼-turn ball valve located on the water line behind or beside the toilet base. Turn it off, then flush the toilet once to clear pressure from the line. If water keeps trickling in, you've got the wrong valve — trace the line further back.
Step 2: Disconnect the Water Line
Use an adjustable wrench to unscrew the water supply line from the base of the toilet. Have a towel ready. Even after flushing, a cup or two of water will drain out of this line.
Step 3: Cap or Mark the Line
Don't leave the supply line open while you work. A cap fitting from any hardware store keeps debris out. If you're running a new supply line to the replacement toilet, this is the right moment to measure the fitting size — most RV toilets use a standard ⅜" or ½" compression fitting.
Step 4: Remove the Toilet Bolts
Most RV toilets mount with 2–4 bolts at the base, secured to the floor flange. They're usually a ½" or 9/16" hex. Older bolts on rigs that haven't been opened in a decade can be corroded solid. Spray penetrating oil and let it sit 10 minutes before forcing anything. Rounded-off bolt heads are the most common reason a 90-minute job turns into a 3-hour one.
Step 5: Lift and Remove the Old Toilet
Lift straight up. The toilet is sitting on a rubber flange seal — it should break free without much resistance. If it's stuck, rock it gently side to side rather than prying. Set it immediately into a heavy-duty trash bag to contain any residual waste.
Step 6: Inspect the Floor Flange
Before the new toilet goes in, look at the flange itself. This is the 3-inch ABS or PVC collar mounted to the floor. Check for cracks, warping, or a badly deteriorated flange seal groove. A damaged RV toilet flange is worth replacing now rather than discovering a leak six months from now. Replacement flanges run $15–$40 at any RV supply store.
Also check the floor around the flange for soft spots. Water intrusion from a failing seal can rot the subfloor. Press firmly around the perimeter — it should feel solid, not spongy.
Step 7: Install the New Flange Seal
Every RV toilet replacement kit includes a new flange seal, but confirm your new toilet's seal dimensions match your drain collar. Thetford and Dometic both use proprietary seal profiles, so an off-brand seal may not compress correctly. Press the new seal firmly into the flange groove — it should seat flush with no gaps. If your model uses a foam gasket instead of a rubber seal, center it carefully. Misalignment here is the primary cause of post-installation odor. Our dedicated RV toilet seal replacement guide walks through seal types and compatibility in detail.
Step 8: Set and Bolt the New Toilet
Lower the new toilet straight onto the flange, aligning the bolt holes with the floor anchors. Hand-tighten the bolts first to confirm alignment, then snug them with a wrench. 15–20 inch-pounds is enough. Overtightening cracks the base — this is one of the most common and most avoidable installation mistakes.
Step 9: Reconnect the Water Line
Thread the supply line onto the toilet's inlet fitting by hand, then snug with a wrench. Do not overtighten — the fitting is plastic on most models. Turn the water supply back on slowly and watch the connection for drips. If it weeps, a quarter-turn more is usually enough.
Step 10: Test and Check for Leaks
Flush three or four times. Watch the base where it meets the floor — any seepage means the flange seal isn't seated correctly. Also check the water supply connection above. A dry base after five flushes means you're done. Use the best RV toilet paper going forward — standard household paper is hard on RV tank treatments and can cause buildup over time.
Are All RV Toilets the Same Size? Will Any Toilet Fit?

The Septic Owner's Handbook
Own a septic system? Get the manual nobody gave you.
How it works, the golden rules, the maintenance calendar, and a warning-signs decoder for every gurgle, smell, and wet spot — so small issues never become $15,000 ones.
Get the Handbook — $27 →Instant download · 250+ pages, 17 chapters + printable toolkit · Yours to keep foreverNot exactly, but most are close. The standard RV floor drain is 3 inches in diameter, and the vast majority of Thetford and Dometic models are built around that dimension. The bolt pattern is less standardized — hole spacing varies by manufacturer and sometimes by product line within the same brand.
Before ordering a replacement, measure two things: the drain opening diameter and the center-to-center distance between your existing mounting bolts. Most Thetford models use a 5.5-inch bolt spread; Dometic varies slightly by series. If you're replacing like-for-like (same brand, similar era), you'll almost certainly get a bolt-pattern match. Cross-brand swaps usually work but may require a universal base adapter plate, which runs $20–$35.
Height matters too, especially in low-ceiling RV bathrooms. Standard RV toilet seat height runs 14–17 inches. Comfort-height models add 2–3 inches — check your ceiling clearance before buying.
Can you install a standard residential toilet in an RV? Technically possible in a very limited sense, but practically — no. Residential toilets require a wax ring seal that doesn't compress properly against an RV flange, need significantly more water per flush than RV systems can deliver consistently, and weigh three to four times more than RV-specific units.
What About Composting and Macerator Toilets?
Both are legitimate alternatives to a gravity-flush RV toilet replacement, and both require more planning than a direct swap.
Composting toilets separate liquid and solid waste, requiring no black water tank connection. They're popular in the Mountain West among dry-campers in Colorado, Utah, and Wyoming who boondock for extended stretches without hookups. The trade-off is a higher upfront cost ($900–$1,200 for a Nature's Head or Air Head unit) and a learning curve on maintenance — the solid chamber needs emptying every 3–6 weeks depending on occupancy. A composting toilet is also an RV bathroom upgrade that eliminates black tank dumping entirely, which appeals to full-timers and off-grid campers. Our full guide on the RV composting toilet covers installation requirements and real-world user experience.
Macerator toilets stay connected to your black tank but use a pump to grind waste and push it through a smaller-diameter discharge line. This is a camping toilet replacement option that works well in Class A motorhomes and fifth wheels where the toilet sits far from the tank — the macerator pump reduces clogging risk across long horizontal runs. They draw 12V power and require more maintenance than gravity units, but the flush performance is significantly better.
Neither type is a drop-in swap. Both require modifications to your existing plumbing or tank venting. Budget a full day for either installation if you haven't done it before.
What If Your RV Is Parked Permanently on a Home Septic System?
Thousands of RVs across the Sunbelt — especially in Florida, Texas, and Arizona — sit semi-permanently on home lots connected to residential septic systems. In this setup, your RV toilet replacement is not just an RV project. It's a decision that affects your drain field.
Standard residential septic systems are sized for household waste loads. Adding full-time RV use — particularly with heavy black tank treatment chemicals — can overload the bacterial balance in the septic tank and shorten pump intervals from four years to two. The EPA's residential septic system guidance is explicit about avoiding non-biodegradable additives in septic-connected systems.
If your RV is on permanent hookup, the toilet you choose matters in a different way than it does for a weekend camper. A low-flush gravity model that uses 0.5 pints per flush puts significantly less load on the septic system than a high-flush unit. Avoid macerator toilets in this configuration — the ground waste slurry they produce is harder on drain fields than standard solid waste.
If you're in this situation and your septic system hasn't been pumped recently, schedule that service before you start any plumbing work. Our septic pumping and cleaning service directory can connect you with a local provider.
Frequently Asked Questions About RV Toilet Replacement
Can I replace an RV toilet myself, or do I need a professional?
Most RV owners can replace a toilet themselves without professional help. The job requires only basic hand tools — an adjustable wrench, screwdrivers, and rubber gloves — and follows a straightforward 10-step process that takes 1–3 hours from start to finish. The most common complication is corroded mounting bolts on older rigs, which penetrating oil usually resolves. Where you genuinely need a professional is when the floor flange is cracked or the subfloor around the drain shows signs of water damage — both require structural repairs beyond a simple toilet swap. If you're installing a macerator or composting toilet for the first time, a one-time consultation with an RV technician is worth the cost to ensure the plumbing venting is set up correctly. For a standard gravity-flush RV toilet replacement on a rig in reasonable condition, DIY is the right call for most people.
How long does it take to replace an RV toilet?
A straightforward RV toilet replacement takes 1–3 hours for most DIYers. The wide range comes down to two variables: how corroded your existing mounting bolts are, and whether your floor flange needs replacing. If the bolts break free cleanly and the flange is in good condition, experienced DIYers often finish in 45–60 minutes. First-timers working carefully through each step should budget 2 hours. Add another 30–60 minutes if you discover a damaged flange that needs swapping, or if the old toilet base has been sealed with adhesive that requires cutting and cleaning. Draining the black tank before you start — ideally the day before — keeps the actual installation window clean and unrushed. A professional RV technician will typically complete the same job in 60–90 minutes, which at $75–$150/hr means $75–$225 in labor for a routine swap.
What size toilet fits my RV?
Most RV toilets are built around a standard 3-inch floor drain diameter, so the drain opening is rarely the limiting factor. The two measurements that actually determine fitment are your mounting bolt spread and your available floor clearance. Measure the center-to-center distance between your existing floor bolts — Thetford models typically use a 5.5-inch spread, while Dometic varies slightly by series. Also measure the floor footprint available in your bathroom, since some RVs have very tight clearances around the toilet base. Height is the third variable: standard RV toilet seat height runs 14–17 inches; comfort-height models add 2–3 inches, which matters in rigs with low overhead storage above the toilet. If you're replacing like-for-like within the same brand and era, fitment is almost guaranteed. Cross-brand swaps usually work but may need a universal adapter base plate ($20–$35).
How do I stop my RV toilet from smelling after replacement?
Post-replacement odor almost always traces back to one of three sources: a misaligned flange seal, an improperly seated base gasket, or insufficient water in the bowl after flushing. Start by checking the seal. If the new toilet rocked slightly during installation before you tightened the bolts, the seal may not be compressing evenly — remove and reseat it. If the seal looks correct, add water to the bowl manually and watch whether it holds or slowly drains; a bowl that won't hold water means the flush valve seal isn't closing fully. The third cause is behavioral: gravity-flush RV toilets need a small amount of water left in the bowl after each flush to maintain the odor barrier. A tablespoon of water in the bowl is enough. Follow up with a quality RV black tank treatment to re-establish bacterial balance in the tank after your first few flushes.
What is the difference between a gravity-flush and macerator RV toilet?
A gravity-flush RV toilet works exactly like a residential toilet — water enters the bowl, the flush valve opens, and waste falls by gravity into the black tank directly below. These are the most common type of camping toilet replacement, the simplest to install, and the least expensive to maintain. A macerator toilet adds an electric pump that grinds waste into a fine slurry before pumping it through a smaller-diameter discharge line. This matters in larger RVs — Class A motorhomes and fifth wheels — where the toilet sits far from the tank and a long horizontal pipe run would clog with a standard gravity system. Macerators draw 12V power, cost $500–$800+, and require more maintenance than gravity units. They're the right choice when your plumbing layout demands it, not just because you want better flush performance. For most RV owners doing a standard toilet upgrade, a gravity-flush ceramic bowl model delivers the best balance of cost, reliability, and ease of installation.
Sources & Methodology
Pricing data sourced from manufacturer list prices (Thetford, Dometic) and verified against Amazon and RV dealer retail listings as of early 2025. Installation time estimates are based on NRVDA service interval data for routine RV toilet replacement. Septic guidance references the U.S. EPA's residential septic system recommendations. Flange and fitting specifications reflect current Thetford and Dometic product documentation. Product model availability and pricing are subject to change — verify with your retailer before purchasing.
Was this article helpful?
Frequently Asked Questions
Recommended Resources
📖 Related Articles
- How to Replace an RV Toilet Seal (Step by Step)
- Dometic vs. Thetford RV Toilets: Which Should You Buy?
- How to Empty an RV Black Tank (Without the Mess)
- The Best RV Black Tank Treatments (and How to Use Them)
- RV Septic vs House Septic: Key Differences Explained
- The Best RV & Septic-Safe Toilet Paper (Tested Picks)
- The Best Composting Toilet for RV (Top Picks)
🔧 Services
Find Septic Professionals Near You
Connect with licensed, verified septic companies in your area.